
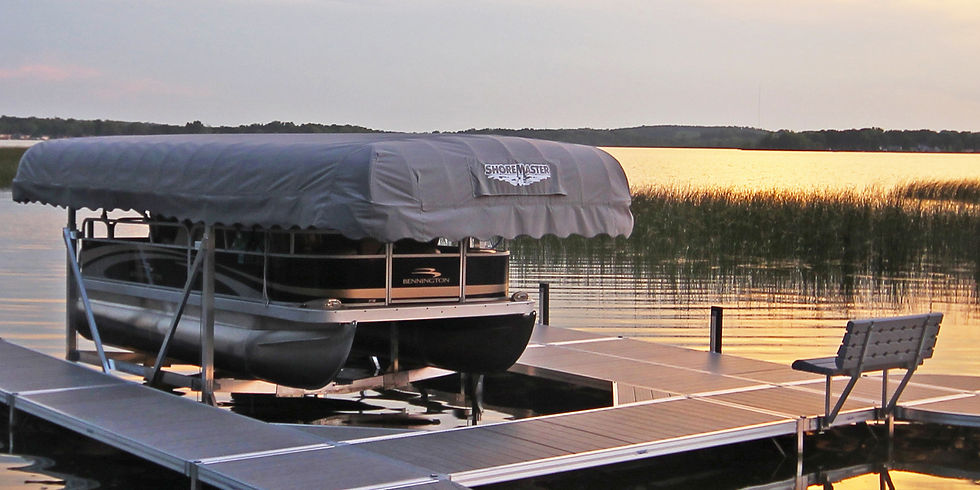
Trusted with Providing Central New York with Premier Waterfront Products and Service for 80 Years!


If someone asked you what a typical dock looks like, you might say something along the lines of “It’s about 4’ wide and goes straight into the lake.” Pretty simple right? Well what if you want your dock to be atypical. Maybe you don’t know what you want your dock to look like. Would you like the ability to easily change your dock layout?
This is where infinite configurability comes into play. ShoreMaster’s dock connectors can be placed anywhere along the edge of the dock frame. This means you can attach multiple dock sections together in just about any orientation. For example, maybe this year the water level is low, so your dock is set up to go as far out into the water as possible in a straight line. Now let’s say next year the water level is higher than normal. With higher water levels, you might not need the dock to go as far out into the lake. Because your dock system is modular, you could redesign it completely. For example, you might want to take a couple sections from the end of your dock and place them somewhere along the side to create a platform. Maybe instead, you decide to create a U-shaped dock to help with getting on and off your boat?

No Additional Parts Required
For many layout changes, including this one

With ShoreMaster’s RS4, RS7, and TS9, infinite configurability comes standard and most importantly, you won’t break your back doing it.
If you’ve installed a temporary dock before, the part you probably remember most (besides carrying it into the lake) is the process of connecting each section together. This process may have previously required multiple people, multiple tools, and a whole lot of patience. This process was kept in mind when this dock was designed. In fact, the task of connecting two sections together is probably the easiest part of the installation. Only 1 wrench and 1 person is required to install a standard 4’x10’ section. That being said, it is much easier with two people, especially when working with the longer 4’x16’ sections.
How do the sections connect?
On the bottom side of each dock frame, there is an open channel that runs along the entire perimeter of the frame. The dock connectors attach to these channels with stainless steel carriage bolts and brass nuts. The composition of this hardware is important because it is designed to prevent rust and corrosion which means that you will never need to deal with rusty or seized bolts. Now that the dock connector is attached, you can slide this connector to any point on the dock.
Once there are two connectors set up where the next dock section will connect, all that's left to do is place the next section on top of those connectors and tighten the “T-handle” set screws. Of course, the T-handles are also made of stainless steel and screw into brass threads. The T-handle itself is very convenient because just about any wrench with a closed end can be used to tighten it.


What about the legs?
If you’re reconfiguring your dock, then you may find that the legs need to be moved to a different corner of the dock section. Each leg pocket is attached with 3 (stainless & brass) bolts and can be moved to any corner of the dock section.
That means any section can have 1, 2, 3, or 4 legs depending on what’s required for your specific layout. The legs are held in place by the leg pocket.
The leg pocket is attached to the dock frame with the same hardware as the dock connectors so, like the connectors, all you need to do is loosen 3 brass nuts and slide the 3 stainless steel carriage bolts to a different corner of the dock. Since all of the hardware is the same size, only one 14mm or 9/16 wrench is required.
The diagram here shows legs as white squares in order to help visualize why you may need an odd number of legs on a section. As you can see the left layout doesn't need any extra legs, while the middle layout needs one extra leg for the end section. The right most layout actually can do without one leg, as the section on the right side is already supported on two sides.


How do you adjust the leg height?
Click the button to find more information about leg pockets, legs, and height adjustments.
Can my dock have curves?
Yes! ShoreMaster offers exclusive 45 and 90 degree dock sections. This may be useful if you want your dock to go around a large rock or a shallow section of your waterfront. The 90’ sections can also be used to create a semicircle at the end of a dock to create a unique platform. Like the rest of your dock, these curved sections can hold quick connect accessories such as furniture or a grill anywhere along the edge of the dock frame.

_jp.jpg)
Don't worry about being limited on decking options. Curved sections also have all the same panel options as the rectangular dock sections. Just like the rectangular sections, the decking panels are removable and replaceable if needed. In summary: If you can draw a layout using rectangles, 45 degree sections, or 90 degree sections, we can build a dock to match.